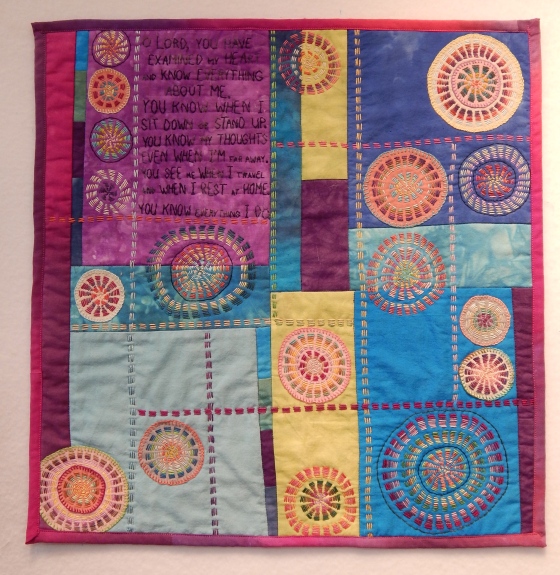
Well, I did it! Yesterday morning I took a deep breath, looked over all the different dying methods I had been studying, and went out and mixed up some dyes!

I have a lot of experience dying protein fiber (wool, silk, angora, alpaca, etc.) But cotton fabric is a completely different animal. The dyes for the protein fibers requires a lot of heat, and you also have to be very careful with the fibers or they will turn to felt. The cotton requires a little heat, but basically that is taken care of by a day in the hot sun. And of course, there is no problem with felting cotton fabric, so you can manipulate it without fear.
I had watched a Jane Dunnewold class on Craftsy (super-informative,) and read over Melody Johnson’s notes on The Lazy Dyer. I also had a Quilting Arts article by Robin Ferrier that I had saved for several years. I ended up using a bit of advice from each of these dyers.
To start, I cut half-yard lengths off of the super-cheap bolt of muslin that I had bought from Joann’s. That took a little worry out of the equation. If I ruined it, or dyed horrid colors, I was not out that much money.
I pre-washed the muslin, and then soaked it in a bucket with some soda ash. Then I mixed up my dyes in some old mason jars I had. And I put some dyes on the fabric! I tried several techniques.
The hardest part was waiting a day to see if it worked. This morning I was out there in my nightgown rinsing the excess dye out. After rinsing each piece of fabric several times, I put it in the washing machine and then dryer. The most fun was ironing all these beautiful fabrics that I had DYED MYSELF!!!

Close-ups of a couple of the multi-color fabrics:


One interesting thing was that I actually preferred the texture of the cheap muslin to the more expensive PFD (prepared for dying) Kona cotton that I had bought.
And then I was ready to do it all over again! I pre-soaked some more cut yards of the Kona cotton in the soda ash while I went to church. And then I came home and tried some new colors and color combos, and a different technique.
The table I am using–kind of a funny story. I saved it for years for my studio. But it was pretty ruined, so it got rejected. It got moved off of the porch that became the studio onto the deck, got rained on some more, and finally got moved off of the deck to this location. The only reason it was still here is that I have not gotten someone to come and haul it away yet. It turned out to be the PERFECT table in the PERFECT location (right next to my outdoor sink,) for doing this kind of dying.
The big piece of fabric is the method described in the Quilting Arts article. You put down a layer of painter’s plastic and then dye a piece, and another piece of plastic on top, with another piece of fabric to dye a different color, etc. You can dye up to 12 layers of fabric this way! Very fun and easy to do.

Then you have to weigh it down while you leave it overnight. Ha! All those trees I’ve had chopped down came in handy!

And then I dyed some fabric using Jane D’s Gladware method.

And now I have to wait another 24 hours to see how this batch has turned out!


